Monday, October 25, 2010

Another Savoie Secret - Lemon Parmesean Spaghetti

A few weeks ago we tried another Savoie Secret Recipe from

The recipe was easy to put together on a week night.
I split the recipe and put half of it in the freezer. Hopefully, it will be just a delicious.
The kids REALLY loved it!

Lemon Parmesan Spaghetti
Number 28
by Elizabeth Savoie Dronet

Ingredients
8 oz thin spaghetti
1/4 cup butter
8oz sour cream
1 tsp lemon zest
3 Tbsp fresh lemon juice
1/4 cup Parmesan cheese
salt and pepper to taste
chopped parsley

Directions
Preheat oven to 400. Cook pasta until al dente. Drain and place in a greased 1.5 quart casserole dish. In a small pot, melt butter. Turn off the heat and stir in sour cream, lemon zest, lemon juice, half the cheese and salt and pepper. Mix until smooth. Pour over spaghetti and gently mix. Bake for 15-20 minutes. Remove from oven and top with remaining Parmesan cheese and fresh parsley.

Happy Cooking!
Laura


Friday, October 22, 2010

Birthday Cookies

This week our twins turned 2!!!


We have 2 that are 2...
I cannot even believe how quickly the time flies!

The Mother's Day Out program that the twins attend allow the parents to bring
a special treat on the children's birthday to celebrate with their classmates.


We decided to make sugar cookies and the twins and Daddy helped.
It was so fun!

I do have to admit that I cheated a bit on the "homemade cookie" front. We had been at the Zoo ALL day and then we went for a nice bike ride. When we started the project we were all exhausted. So, I skipped the homemade sugar cookies and went straight for the bag of Betty Crocker Sugar Cookies in the pantry. (Pretty awesome in a pinch!)

But, the real job came down to the icing. This is what I wanted to focus on this time. I have tried several different ways to make icing and I have never been too excited about the outcome. This time I decided that I wanted to try... drum roll please...

Wilton's Royal Icing recipe...

Which leads me to recipe Number 27 (and I do realize that this year is coming to a close and I am lagging behind on my posts. The good thing is that I have plenty of recipes to post, I just do not seem to have the time. Dear clock fairy - please add some more minutes to my day. Thank you)

Royal Icing
Number 27
By: Wilton

Ingredients
•3 tablespoons Meringue Powder
•4 cups (about 1 lb.) confectioners' sugar
•6 tablespoons warm water

Makes: About 3 cups of icing.

Instructions
Beat all ingredients until icing forms peaks
(7-10 minutes at low speed with a heavy-duty mixer,
10-12 minutes at high speed with a hand-held mixer).

NOTE: Keep all utensils completely grease-free for proper icing consistency.

* For stiffer icing, use 1 tablespoon less water.

**When using large counter top mixer or for stiffer icing, use 1 tablespoon less water.

Thinned Royal Icing: To thin for pouring, add 1 teaspoon water per cup of royal icing. Use grease-free spoon or spatula to stir slowly. Add 1/2 teaspoon water at a time until you reach proper consistency.

---

 
I found the recipe here. Now that I had the recipe, what do I do once it is made?

So I Googled "Decorating with Royal Icing" and I stumbled upon a great blog -

Super cute and great recipes. In fact, great step-by-step instructions on

And so the fun began.

The best advice given, well... I take that back... there was a lot of great advice - that I will share.
One of the best pieces of advice was to prepare, prepare, prepare. Most often I are in a hurry. (Either I am exhausted doing it at the end of a long day with the twins or the twins are sleeping and I only have nap time to finish whatever project it is that I am just starting or the twins need something - hear the reoccurring pattern? The twins?) So, back to the preparation.

We pulled everything out that we needed.
Ingredients. Check. Bowls. Check. Whisks. Check. Food coloring. Check.
Pastry Bags. Check. Tips and couplings. Check. Brain. Where did I put that?
And we went to town. I made the royal icing in Big Red. (That would be my awesome KitchenAid stand up mixer) I followed the Wilton Royal Icing recipe to a "T". I choose to make the icing thick so that I could pipe my design on to the cookie and later "flood" it with the thinner icing. I did consider and follow the notes regarding the "stand up mixer" and "for thicker icing".

I will have to say that it was THICK. So, I added a small amount of water, a drop at a time, and it thinned well.

I was petrified of making this icing. A friend (and sometimes reader of this blog, hello Sissi) makes AWESOME royal icing cookies. She has a great recipe and one time told me that even the humidity in the air that day will affect her icing. Remember, we live in Houston, Texas. SO, I was again petrified that the humidity would ruin my 2 year olds cookies. But, alas, we were okay.
Once we had the icing ready, we separated the icing into three bowls because I choose three colors: Pink, blue and green. I was going for bright vibrant colors. Note to self - I need to work on my color wheel because they were not exactly vibrant. 

The truth is, we learned A LOT more than just the fact that I need to work on my color wheel.

Things I learned:
1. Whisks do not work well with thick royal icing. All of the icing just gets stuck in the whisk and we lost a lot of icing and time dealing with it. We switched to a fork and it worked well. The rubber spatulas are perfect for getting the thicker icing into the pastry bags.

2. Disposable pastry bags are difficult to work with. While the clean up is GREAT, I had difficulty with the pastry bag breaking on me. (Am I the only one this happens to?) Next time, I am going to try squeeze bottles especially for the flooding!

On the cookie cutter note...

3. Flour is good! It is helpful to rub your rolling pin often with fresh flour but not too much that it gets all over the cookies!

4. Get some rolling bands. I picked up some measurement rolling pin bands at Sur La Table and they were really helpful! 

In general...
5. You can have a lot of fun with your kids and hubby in the kitchen!


Here are some pictures of the process and outcome.


After we colored the thicker icing. I outlined the cookies. I then went back to the pink and blue icing and added a small drop of water at a time and stirred until I reached a consistency that I thought would "flood" the cookies. See, I never could figure out how the icing just wouldn't run all over the place. Brown Eyed Baker, thank you for showing me the light of making an icing dam. I left the third color, the green icing, with the thicker consistency for later decorations.

After we had the thinner consistency, we flooded the icing and used a toothpick to gently push the icing around to fully fill our design.

We then went back with thicker green icing and decorated the cookie.


It was all trial and error but it was FUN!

Hope you have fun trying it.

Happy Cooking!
Laura

Monday, October 11, 2010

Fall is Upon Us!

Fall is here!!!

My favorite time of year! The weather is cooler, October is birthday month in this house and Thanksgiving and Christmas are just around the corner!

Check out a few new ideas we had this year and a few new additions!


Last Sunday, we had family over for a "Fall Family Feast"! The iron pumpkin centerpeices were another find from my parent's house!


Pumpkins just welcome fall!!!


 Here is our newest idea/addition to our "Fall" favorites. I saw this at a wonderful garden center here in town, Cornelius, and I thought to myself, "Self, you can do that!" SO, I did. I drug out an old barrle pot we had that we bought for the kdis to play in and I filled it with dirt, a few mums and the most interesting pumpkins and gourds I could find!


Happy Fall!
Laura


Thursday, October 7, 2010

Stop here...

Tiaras and Trains is the theme for the twins second birthday!

I "borrowed" an idea from one of my favorite blogs...


We took Karla's design for the wedding sign and turned it into a TRAIN sign!


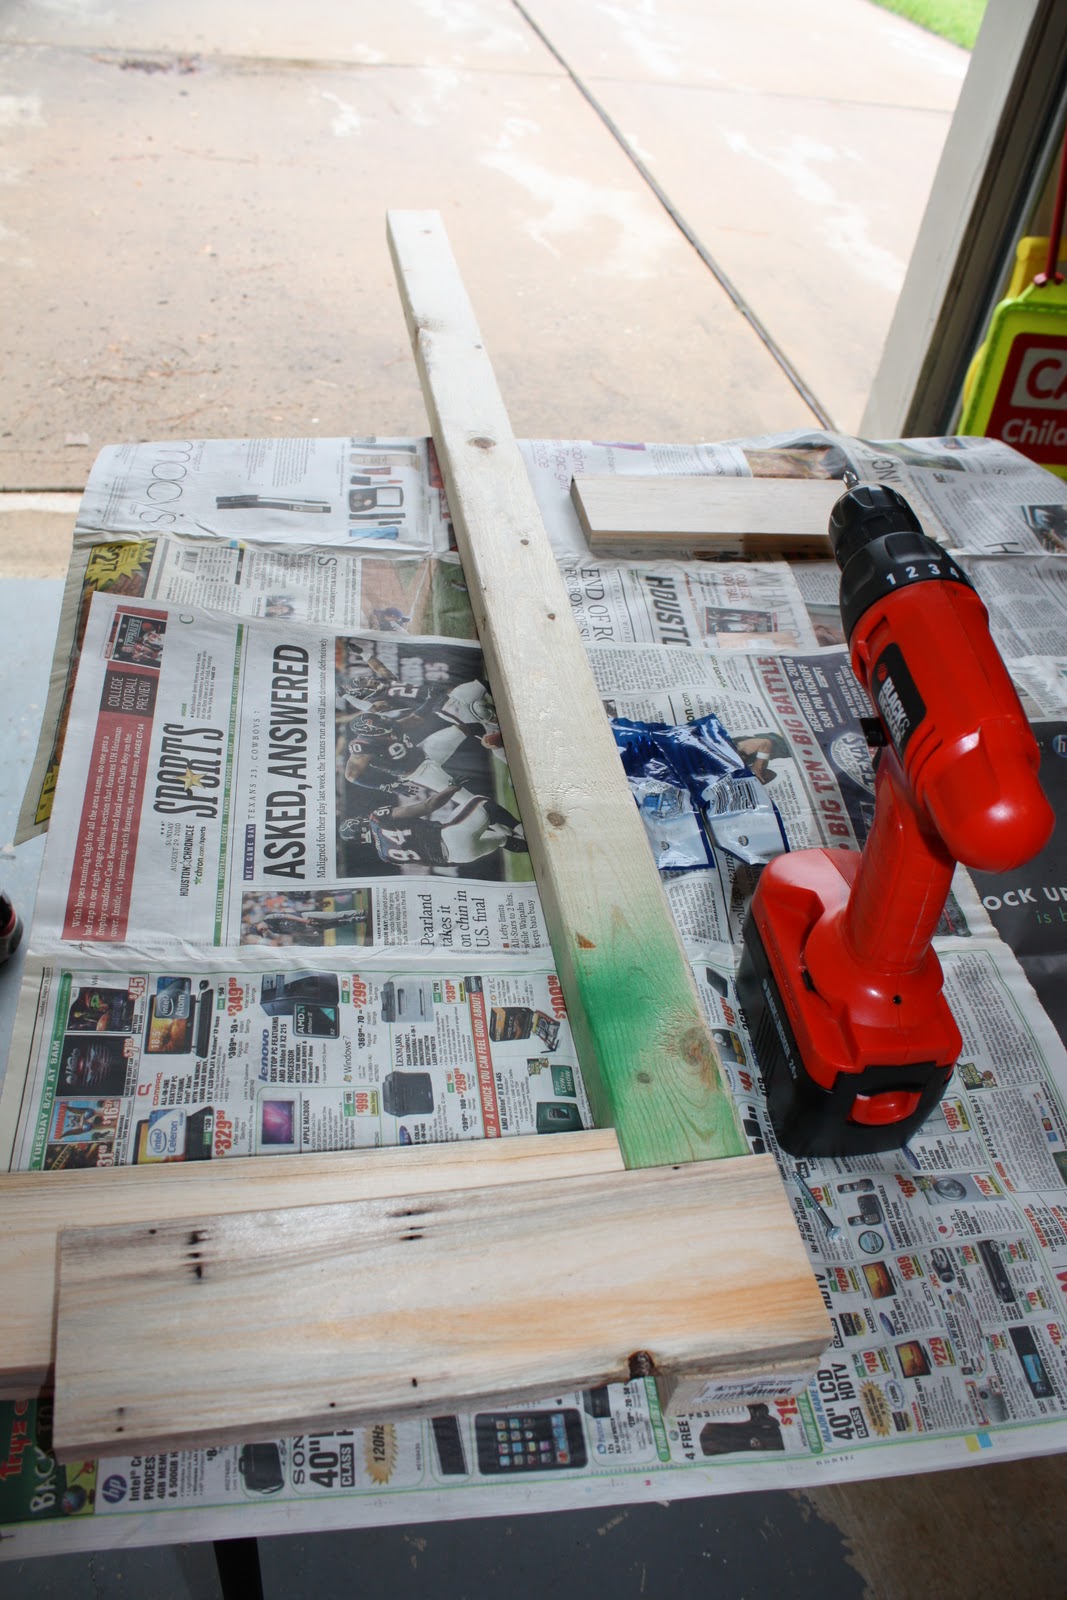
The twins, the hubby and I took a trip to Home Depot. We found all of the lumber in the "left overs" pile and we were able to get the lumber at a great discount. We bought some screws and white paint and we were on our way.

The main pole is 5 feet tall. The four base boards are two feet each. The train crossing "X" are two feet as well as the "Fowell Depot" name sign.


We started with the base and attached the base boards. We drilled a small started hole to make it easier. When placing the screws, we were careful to remember where the other screws were so that we didn't have a collision!


A coat of fresh paint...

Then it was to the crossing.

Before affixing the crossing and depot station name, I decided to paint them.

Using another great idea from Karla, I printed out my letters on the computer (using the "outline) as not to waste ink. I then traced the letters on to the wood.

The last coat is drying and I am looking forward to posting the final project.
The kids love it and I am pretty proud of this little project!

Happy Days!
Laura


Wednesday, October 6, 2010

Fun things around the house...

Projects, Projects, Projects!

As if we don't have enough to do - we create projects for ourselves!

But, it sure is fun!

The twins started a Mothers Day Out program and I wanted a place for all of the "fridge art!"

A friend of mine told me that she had seen a neat idea and so I decided to give it a try.

"Frame the Art" - One place in your home for all of the art.

I went shopping... at my parent's house for a frame. Lately, my parent's house has been the place of many a great finds. They recently moved and they are in "you want it?" mode and I am loving it!

So, I found this GREAT antique frame in garage. The frame and poster belonged to my great grandmother. The poster was not really anything of value, but the frame - WOW!

So, we removed the poster and in it's place, we put a black foam board.

We hung the frame for the "masterpieces" in the twins hallway.
It is a bit narrow and was difficult to photograph - but here are some pictures... 


E & C have a spot for their art!

What do you think?

Happy Projects!
Laura

p.s. Check back soon for the train sign we built for the twins' birthday party!


Monday, October 4, 2010

Turkey and Artichoke Pasta Shells

Giada impresses me yet again!

We tried another Giada recipe today and it was fantastic!

The best part of it was that the kids LOVED it! I do have to say that I "strayed" from the recipe a bit. I did not have time to make the Arrabiata sauce and so we just used store bought pasta sauce. While I am sure that her sauce is delicious, it was still very good with our store bought.

As a side note, you can adjust the ingredients to make it a "lighter" fare - reduced fat cheese is a great way to go!

Turkey and Artichoke Pasta Shells
Number 26
Giada de Laurentiis

Ingredients
1 (12-ounce) box jumbo pasta shells (recommended: Barilla)
3 tablespoons extra-virgin olive oil
1/2 large yellow onion, chopped (about 1 cup)
3 cloves garlic, chopped
1 pound ground turkey
1/2 teaspoon kosher salt, plus 1/2 teaspoon
1/4 teaspoon freshly ground black pepper, plus 1/4 teaspoon
1 (8 to 10-ounce) package frozen artichokes, thawed and coarsely chopped
1 (15-ounce) container ricotta cheese
3/4 cup grated Parmesan
2 eggs, lightly beaten
1/4 cup chopped fresh basil leaves
2 tablespoons chopped fresh flat-leaf parsley

Topping
5 cups Arrabbiata Sauce, recipe follows

1 1/2 cups grated mozzarella (about 5 ounces)

Directions
Bring a large pot of salted water to a boil over high heat. Add the pasta and partially cook until tender but still very firm to the bite, stirring occasionally, about 4 to 5 minutes. Drain pasta.

Meanwhile, in a large heavy skillet, heat the olive oil over medium-high heat. Add the onions and the garlic and cook until the onions are soft and starting to brown, about 3 minutes. Add the ground turkey, 1/2 teaspoon salt, and 1/4 teaspoon black pepper and continue to cook, stirring occasionally, until the meat is slightly golden and cooked through. Add the artichoke hearts and stir to combine. Remove from heat and let cool.

In a large bowl combine the cooled turkey mixture with the ricotta cheese, Parmesan cheese, eggs, basil, parsley, and the remaining salt and pepper. Stir to combine.

To stuff the shells, cover the bottom of a 9 by 13 by 2-inch baking dish with 1 cup of Arrabbiata sauce. Take a shell in the palm of your hand and stuff it with a large spoonful of turkey mixture, about 2 tablespoons. Place the stuffed shell in the baking dish. Continue filling the shells until the baking dish is full, about 24 shells. Drizzle the remaining Arrabbiata Sauce over the shells, top with the grated mozzarella. If freezing, cover tightly with plastic wrap and place in the freezer for 1 day and up to 1 month.

To bake, preheat the oven to 400 degrees F. Bake until the shells are warmed through and the cheese is beginning to brown, about 60 minutes (20 minutes if shells are unfrozen.)

Happy Cooking!
Laura

Friday, October 1, 2010

Fruit in a Basket

Last week, the twins and I were invited to a play date at a friend's house.

Trying to be inventive, I brought our fruit, in a bowl.

Fruit in a Basket
Number 25

Step One:
Start with a small melon


Step Two:
Design your basket. I traced my design with a pencil before cutting.


Step Three:
Scoop out the fruit (and have your little girl help peel oranges)


Step Four:
Fill with your favorite fruit.


Happy Cooking!
Laura